Step-by-step to quickly create this custom interior style (night update)
Lumion 10.3
Expose the depth of your interior designs. Help connect with audiences so they can feel the space. And discover how to create this stylish interior render, without wasting a second.
You’ve imported the 3D interior model into Lumion, added context and textured every facade and element, from the wooden floors to the weathered, steel beams running across the ceiling.
And before rendering an image, there’s one final thing to do — apply and combine effects to show the interior with a compelling, illustrative style.
Hunting for the right arrangement of effects can take time. Although the Style feature includes eight presets for instantly producing an attractive look, you may need to do a little customization to create the unique mood and style you want to express.
How to quickly create this custom interior style
Want to create this style yourself? Follow the step-by-step instructions below.
Step 1: Choose the Night Style

All of the Lumion Styles come with a pre-arranged combination of effects, giving you a springboard for quickly preparing your render’s look and feel.
The Realistic Style, for instance, calibrates daytime lighting, shadow and color for a photorealistic look. The Dawn Style captures the essence of daybreak with its long shadows and soft sunlight hovering low on the horizon. The Overcast Style recreates the peaceful mood of a cloudy day, and the Night Style (you guessed it) sets up a baseline stack of effects for darkly lit exterior and interior scenes.
Step 2: Adjust the Color Correction effect
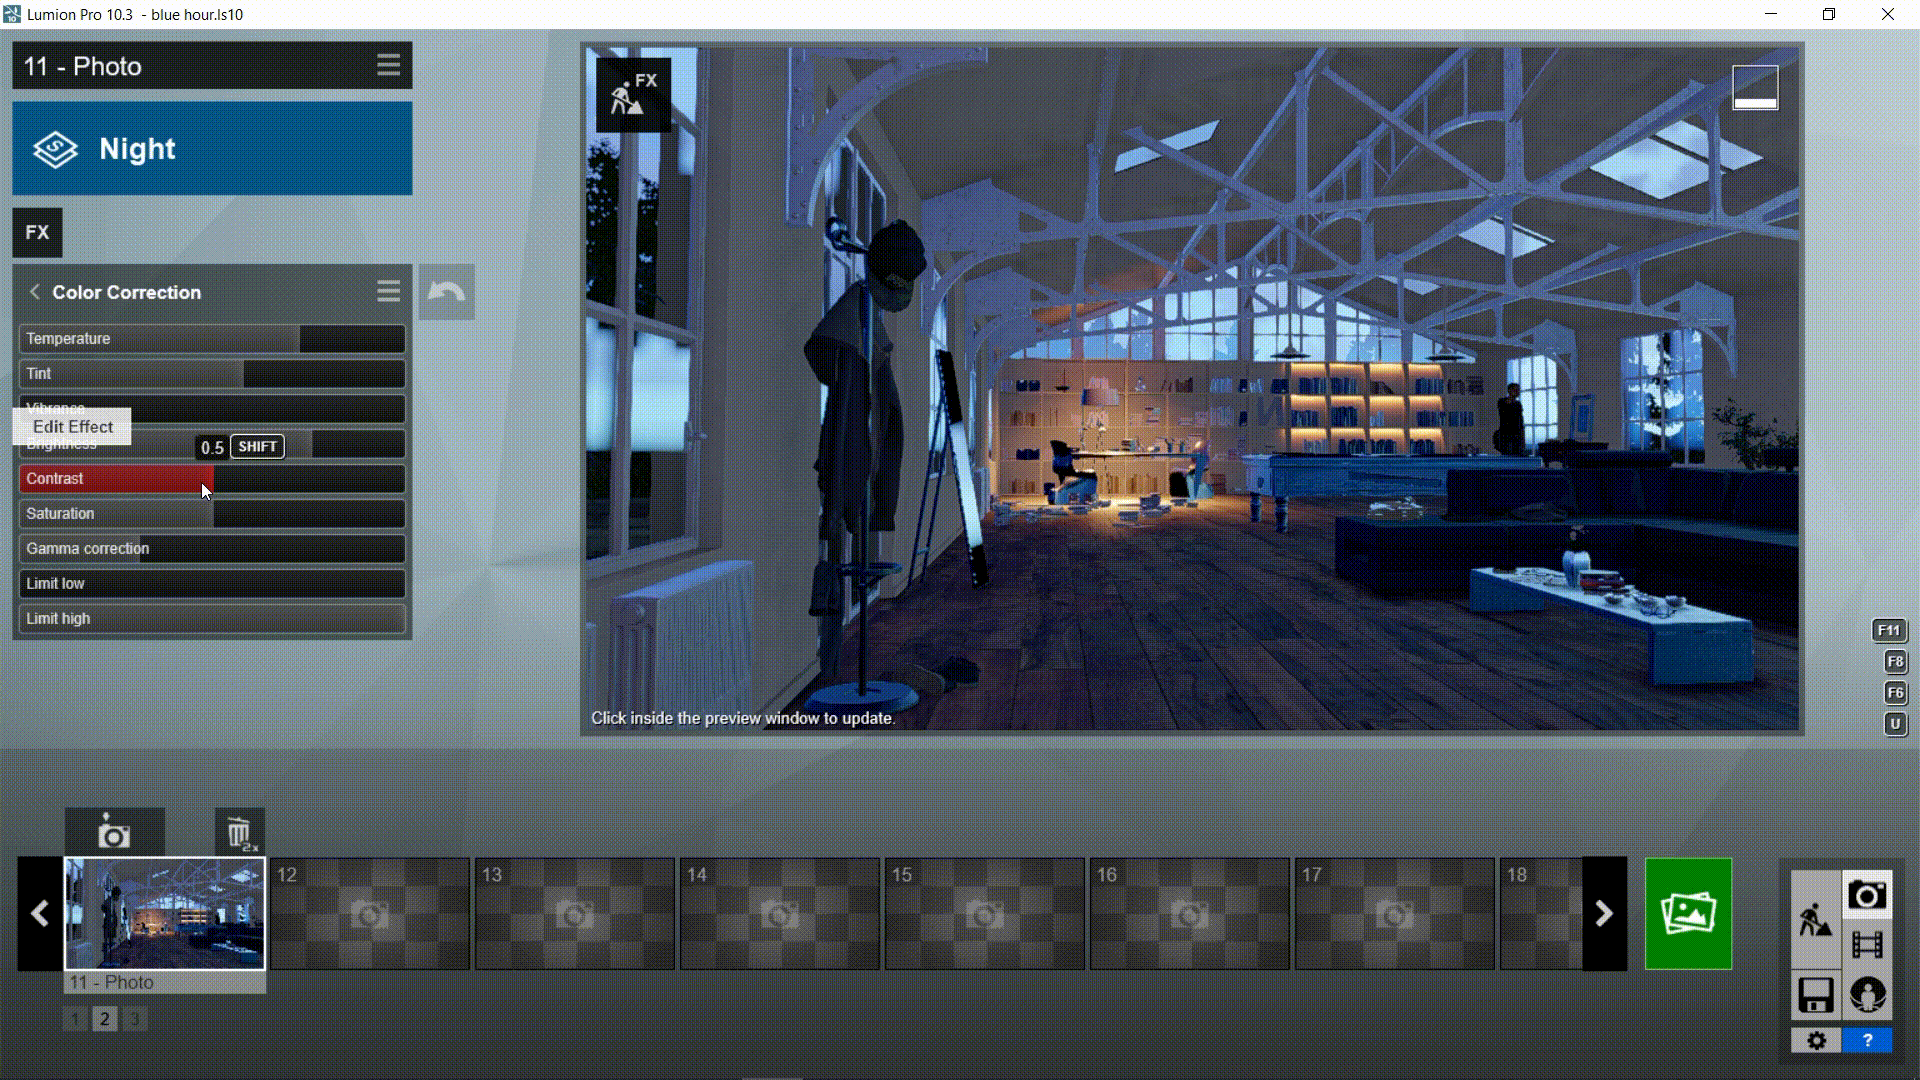
For the purposes of this image, where the lighting is reminiscent of the midnight hour, we wanted to tone down the temperature, tint and brightness of the scene’s color palette. We can do this by modifying the Color Correction effect.
Simply click on this effect to modify its properties and, to achieve a similar color in your renders, you can make the following modifications:
Decrease the temperature from 0.4 to -0.2
Decrease the tint from 0.2 to 0.0
Decrease the brightness from 0.8 to 0.5
Step 3: Add one of the night Real Skies
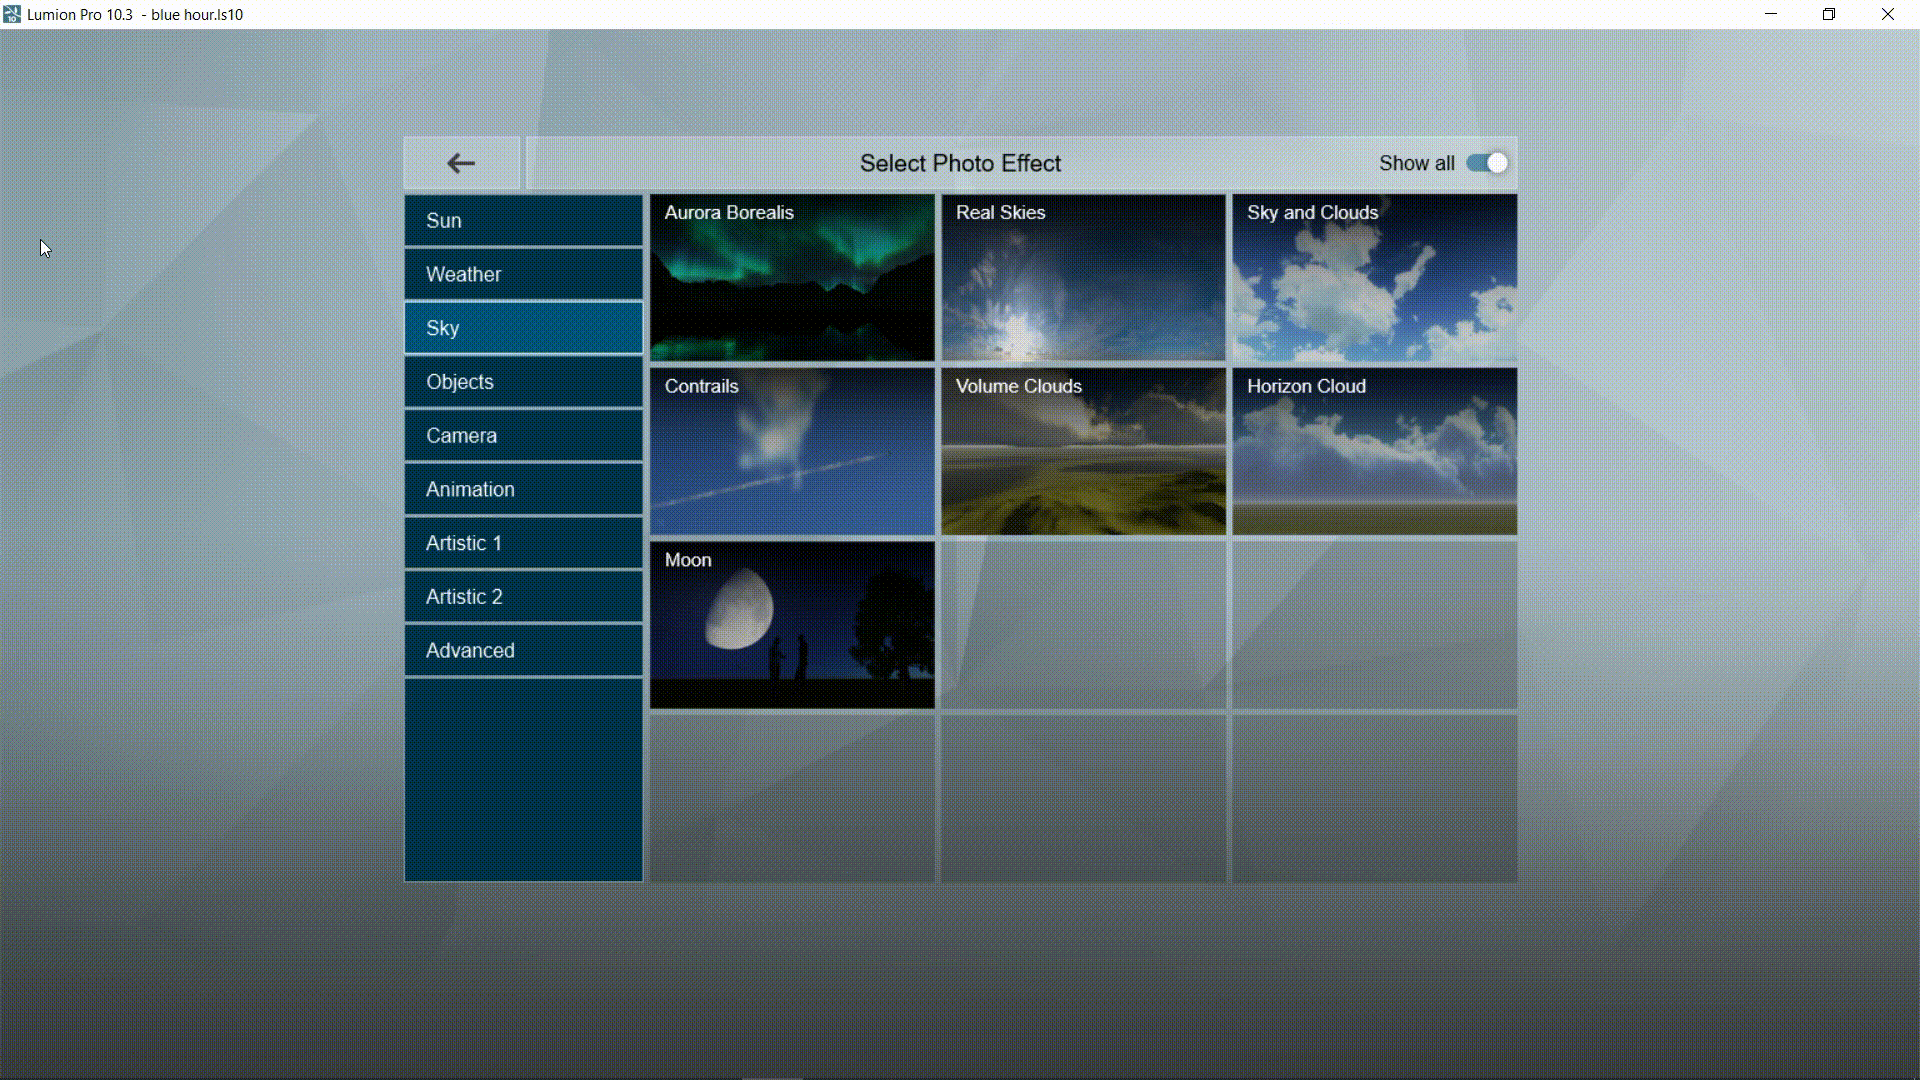
The Lumion Real Skies are ideal for instantly giving your project a beautiful, high-definition sky along with the accurate lighting and color that you’d expect from it. In fact, the Real Skies come with their own Sky Light 2 light simulation technology that re-creates the way light naturally spreads and interacts with its surroundings.
For our nighttime interior, we tested several of the skies and, while it was a difficult choice, we finally settled on the Night 5 Real Sky and made a few modifications, which you can find below:
Decrease the heading from 0.0 to -10.5
Decrease the brightness from 1.0 to 0.6
Step 4: Add Reflections
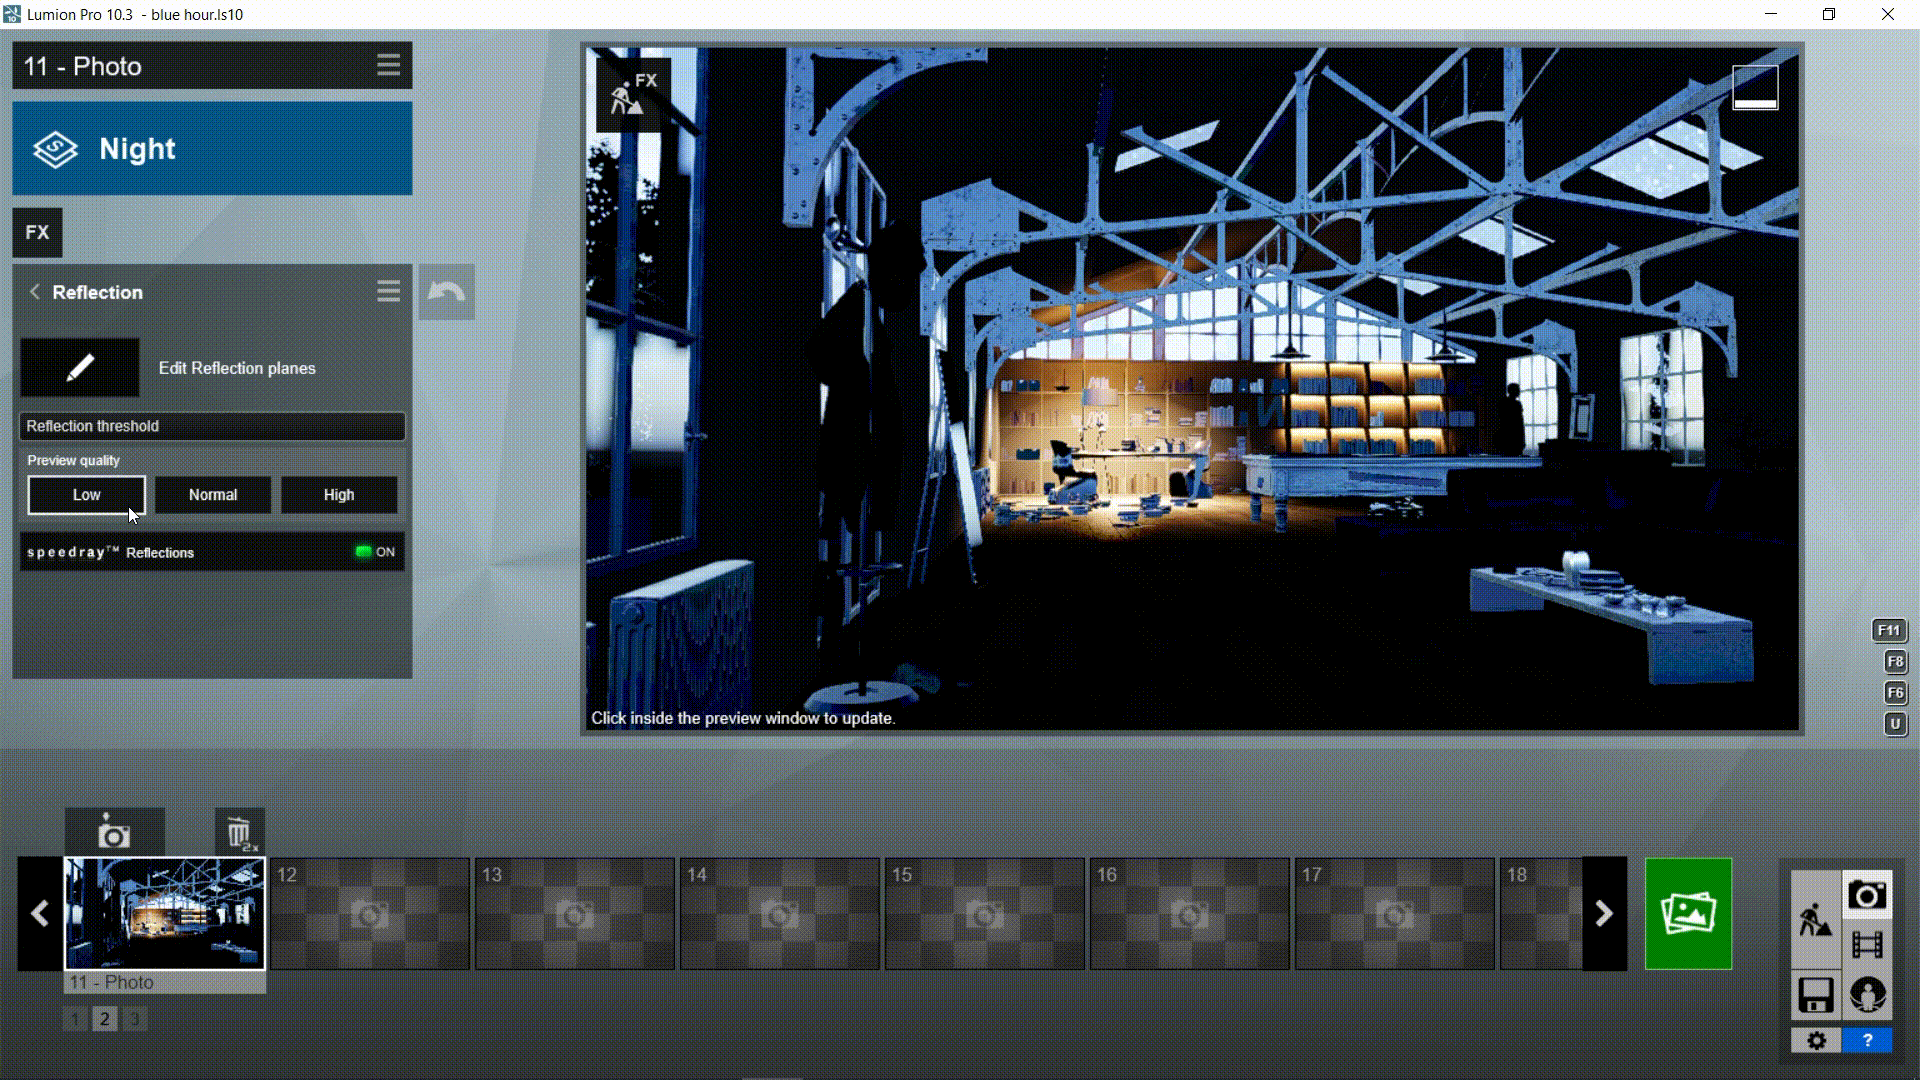
When rendering in Lumion, one effect that can instantly improve the realism of your scene is the Reflection effect.
By applying reflection planes to windows and other reflective surfaces, you can accurately convey a sense of space and help audiences immerse themselves into the scene you’ve created. Because when the reflections aren’t accurate, our brains send little warning signals that something is off, that something looks wrong.

Comparison of the interior with no reflections (left) and reflections (right).
With the release of Lumion 10.3, you can now automatically detect reflective surfaces and place reflection planes.
In the video at the beginning of this blog, you may have noticed that the automatic reflection feature placed a reflection plane on the hardwood floor. While there may be a case where you want to add reflections to your floor materials, we figured it was best to remove the floor reflection plane and then add two reflection planes to the windows along the wall and the angled ceiling.
*Note — every additional reflection plane that you add in Lumion may slow down the final render time.
Step 5: Turn up the Hyperlight

Step 6: Turn up the Sky Light

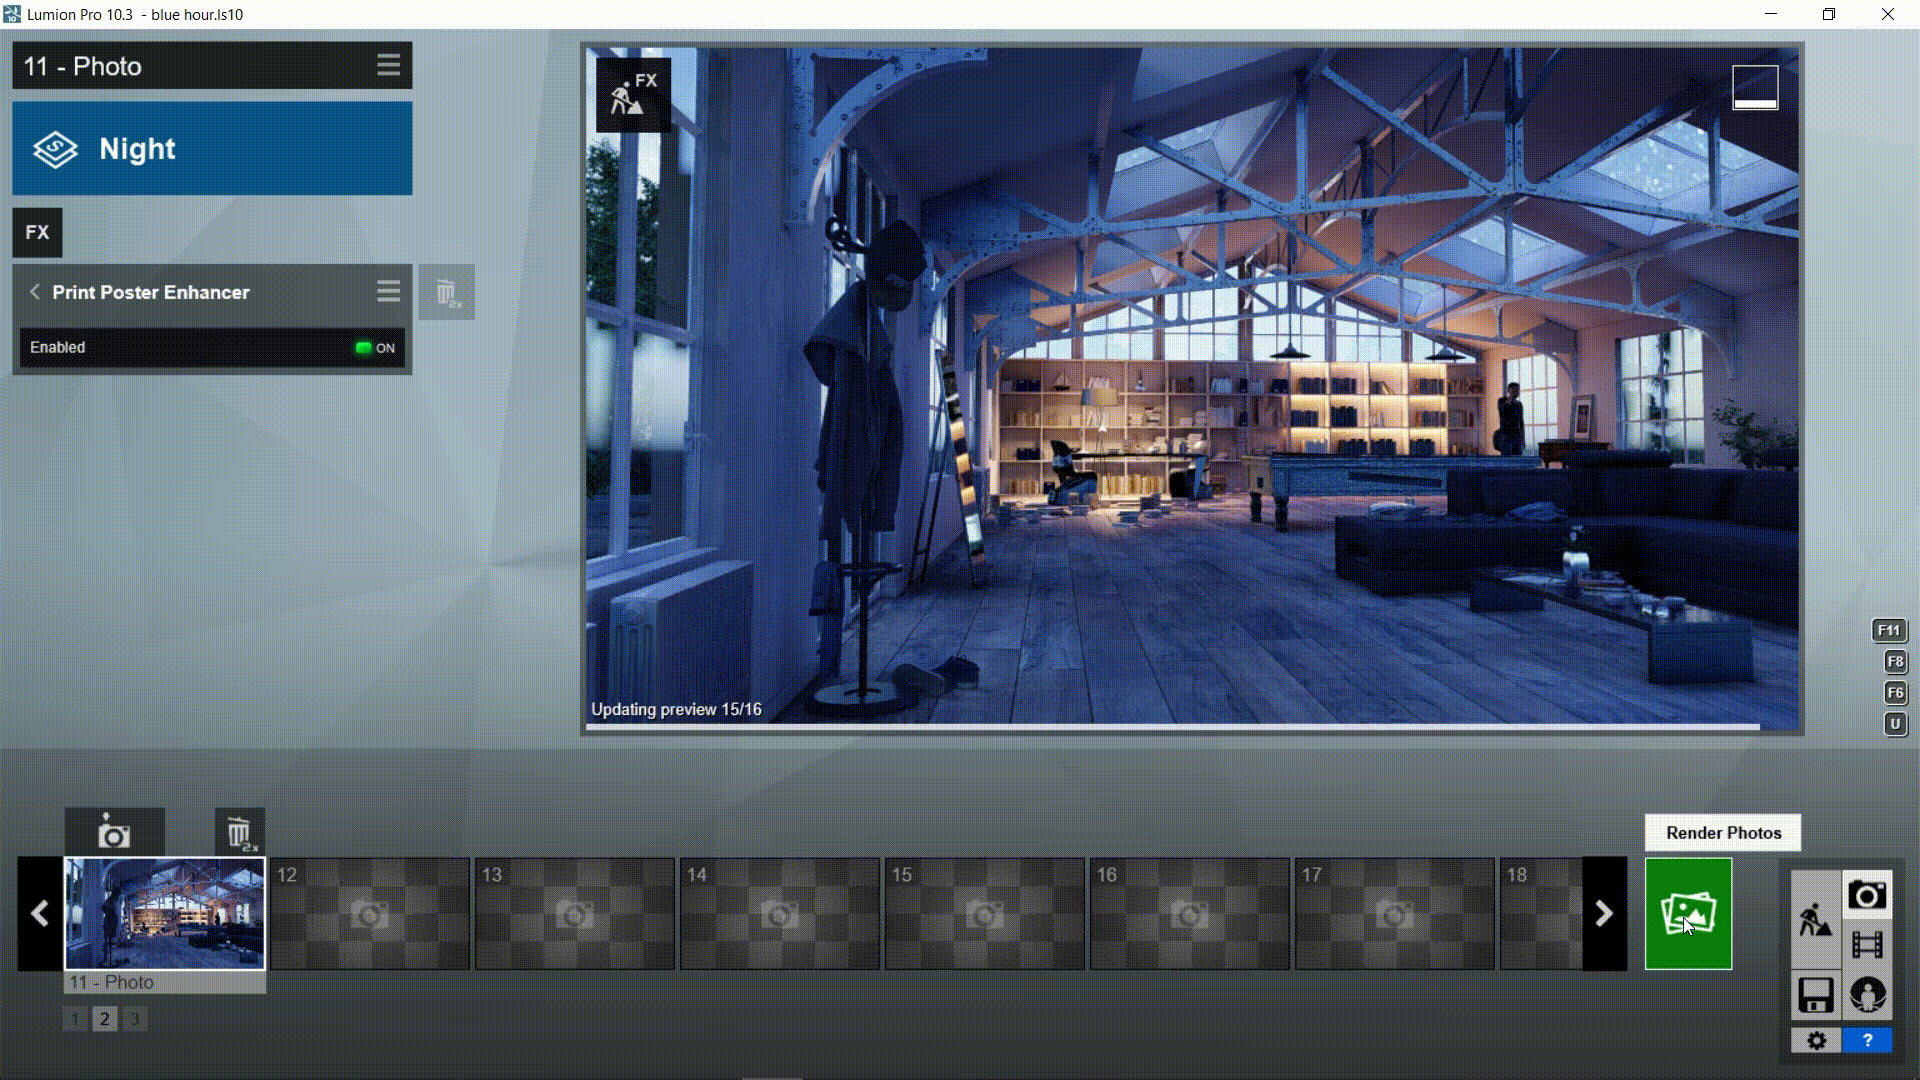
Step 7: One Final Enhancement

Step 8: Render
Show your designs in a style you’ll love.
Render faster than ever before.